Are you having a hard time accessing your loft? You think it’s time to install a loft ladder, but you got no idea how? In this article, we will guide you in fitting an attic ladder and give you tips and tricks on how to do it.
A ladder is essential in accessing the loft, especially if you need to move items from and into the storage space in the loft. Fitting it may take a considerable amount of time. But you can certainly do it with the help of an assistant positioned at the attic while you’re working below the loft work area. It may seem like a difficult job, but you can DIY your own loft ladder and loft hatch by following the instructions and guide below.
Without further ado, let’s get started.
Preparing the Area for Installation
Clearing the Area
Before working, remove any obstructions around the hatch such as cable and pipes to prevent accidents. Ensure that the children and pets are kept away from the loft work area, and the room has enough lightings, and the floor is well-covered. Also, you need to wear protective eyewear, hard hat and gloves while working to protect your eyes and hands from any falling debris, or worse! dropping the aluminium ladder! ouch!
Checking the headroom
Before starting the job, check if there’s sufficient headroom when you enter the loft space at a particular position. If you have an existing opening, but it is too close to the external wall of the house, you may need to alter it or choose a new location or opening that a metre away from the outer wall. By this point you’ve also chosen where your ladder will be placed, you’ll want to take note of how this effects the loft floor and what ladder may be required from wooden loft ladder to heavier materials.
Architrave Removal
If you have an existing architrave, it would be better to temporarily remove it to allow more space in positioning the ladder. You can pry it off using a hammer, chisel, and nail bar.
Marking the Position of the Ladder
After removing the architrave, measure and mark the outline of the loft ladder’s mounting frame position on the ceiling using a pencil.
Assembling and Securing Loft Door Surround
Then, create and assemble the loft ladder’s surround that will hold the attic ladder’s mounting frame in place. 1 cm gap in between. Don’t forget to put a 1 cm gap all around the frame and the attic ladder’s frame and secure the surrounds with screws.
Fitting the Loft Ladder

Now, it’s time for the loft ladder installation. There are different types of retractable loft ladders, and each has a different fitting process.
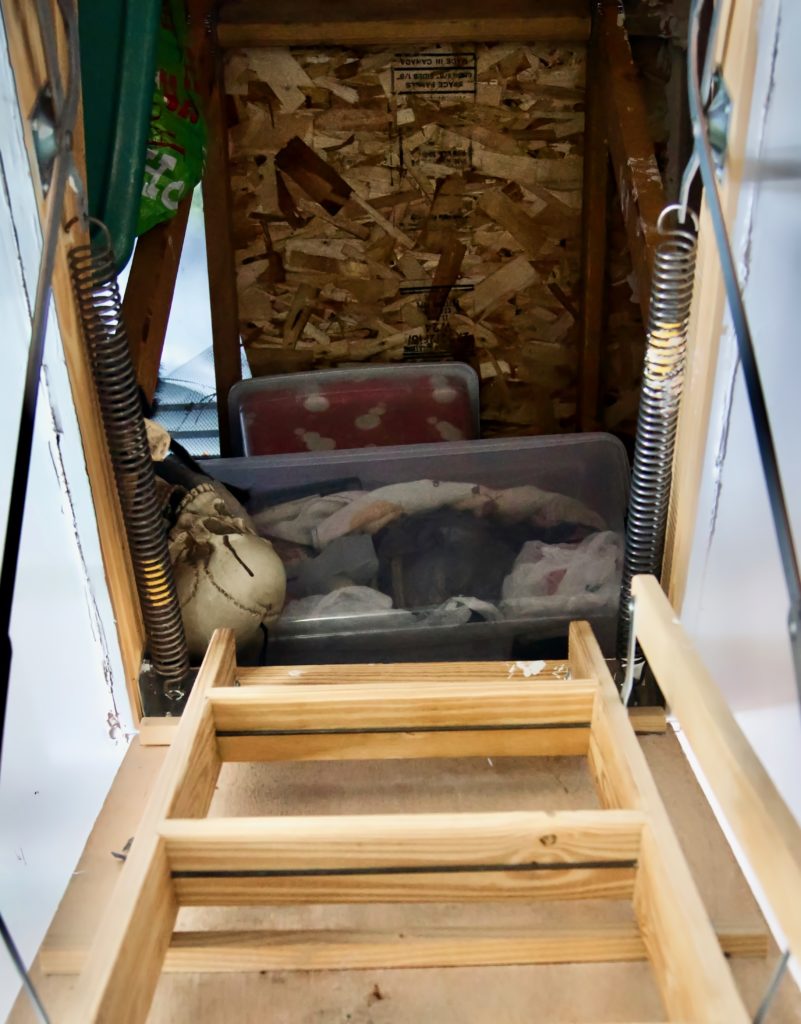
Folding wooden loft ladders
Wooden loft ladders are more complex than other types due to its increased weight, so they are typically supplied into a reinforced hatch. It requires more work, but most homeowners prefer wooden ladders because of its subtle look, and it can be easily painted or varnished to match the fixtures in the room, the folding ladder aesthetic is also really easy to conceal, leaving behind a trapdoor for the ladder to lead to and from the room, the hatch opening is usually controlled by a handle depending on the overall ceiling height & loft floor height. Here’s how to fit it.
Step 1. As stated above, make sure that the frame of the loft’s hatch is sturdy enough to support the weight of the ladder and a hatch well-built into the attic’s floor. And fix the battens into place using crews, ensuring that they are set flush with the ceiling finish.
Step 2. Raise the wooden ladder into fixing position and remove it from the frame.
Step 3. Then, insert and secure the frame and hatch assembly into the loft opening using 70mm screws. For best results, insulate the gap around the opening if there is any.
Step 4. Reattach the loft ladder and secure it into place, specifically in the middle of the bracket.
Step 5. Deploy the ladder and measure the length required for the bottom section and cut it into size using a hand saw so that you can achieve your desired angle of descent.
Step 6. And lastly, add a scratch-resistant protective foot on the ladder and secure it in place using screws. Extend the ladder out to ensure that the height is correct before tightening all screws to complete the insulation.
Note that loft ladder’s design and the fitting process may vary from brand to brand, so make sure to carefully read the instructions and manuals for the installation and spot the potential pitfalls.
Aluminium slider ladder
This ladder consists of two or three sections that comfortably slides on top of each other and lie flat in the attic when stowed. When extended, its pivot mounting at the top allows the upper section to tilt down and the other two parts to slide down and lock into place when fully deployed. Here’s a guide on how to install it.
Step 1. Start the fitting by sliding the ends of the pivot connected into the top ends of the stiles, which is the upper parts of the ladder. Then, secure it using a pivot bar stops. After attaching the handrails, the ladder can be fully extended until it locks in place.
Step 2. The next step would require you an assistant. While holding the ladder securely in place, let the person in the loft place the pivot bar mounts on top of the hatch crossbar at the same end of its hinges and screw it in place.
Step 3. Position the ladder in a 65 to 80-degree angle and tighten the pivot stops so that it will become a default angle whenever you deploy the ladder.
Step 4. Then, fix the retaining bars on top of the stiles and screw it to a wooden crossbar in the attic to make sure that the upper part will stick to its place when the ladder is fully extended and deployed.
Step 5. Lastly, tighten the remaining pivot stops to secure the ladder when stowed.
Concertina ladders
Concertina ladders with the crisscross design usually delivered fully assembled, so it’s easier to install than other options. It looks like a compact block with a height of 450mm when stowed so it will not take much space in your attic. It is durable and stable, thanks to its treads secured with steel carriage bolts that prevent accidental retraction. Here’s what you need to do when fitting this into your loft.
Step 1. Attach the handrails for added stability.
Step 2. Then, secure the top of the ladder into the metal plate. It is fixed to the side of a hatch frame above the hinges with four screws.
Step 3. Just check the screws, and you’re done fitting. Due to the concertina ladder’s compact design, it can fit any hatch, so no frame alteration is necessary.
Completing the Work
Now that you’ve fitted the loft ladder, it’s time to check the support of the frame and some minor touch-ups.
Stabilise and Secure Attic Door Frame
Cover the gap around the loft’s door frame with timber to stabilise it or add insulation. To ensure that it is entirely secure, you can screw the frame and timbers using heavyweight screws.
Attach Decorative Architrave
And remember the architrave you removed earlier? You can cut and reattach it into the frame with panel pins or glue to cover the unsightly gaps and achieve a neat, professional finish.
Fire Safety
We also strongly advise that you read & adhere to the Government fire safety with loft conversion document. This will give all the information regarding points of access, fire safety and how to prevent fires within loft conversions.


