Have you been planning to convert your loft by yourself? Converting your loft on your own can be a strenuous task that involves several risks. Yet, if you’re willing to take risks and follow this simple guide, you’ll be able to enjoy your new livable space and other perks like gaining additional value to your home.
In this article, we’ll share some knowledgeable insight into the whole loft conversion process, and the benefits of DIY-ing your dream home transformation and the risks you should be aware of before doing this laborious but potentially rewarding task.
We are certainly not recommending that everyone does this. In fact, we generally advise against it. It can be hard to find a builder you trust because of a few cowboys out there, but that doesn’t mean you should be the lone ranger. This is serious stuff that could have repercussions for you, your family, your guests and your home. If in doubt… don’t. There may be elements you can do in preparation or finishing…but we’d recommend letting the professional loft conversion company or trusted builder take the lead.
Can you convert a loft yourself?
Most people prefer to hire professionals in converting their loft, but you can do it yourself if you have the skills to do the work. But it isn’t a simple DIY job. It will take a long time, planning and thinking through to make it plausible. Also, if you’d ever decided to push through your DIY attic conversion project, you may still need expert’s intervention to ensure some works that are way out of your league are done the right way. For example, you can hire professionals to do the structure like a DIY shell and work on the second fixes by yourself like the electricals, plumbing and insulation.
However, it is worth noting that DIY-ing complicated conversions other roof light or internal loft conversions is risky and better done by professionals to ensure quality and safety.
But if you’re ready to take on the job and DIY it, here’s a guide for you.
Converting your loft step by step guide
Without further ado, let’s go over the loft conversion process that will be helpful for you once you decide to DIY your attic conversion:
Step 1: Examine if your loft is suitable for a loft conversion.
Before planning the conversion, it is imperative to know whether your attic is suitable for conversion since some are not. Thus, you’ll need to assess if it can be repurposed as a livable space by checking crucial factors, including the roof structure, height, area, services or chimneys and felt of your loft. So, let’s dive into the specifications that your attic must meet to see if it can be converted.
Roof structure: First, you have to determine if your loft has a traditional cut rafter roof, a purlin roof or a trussed roof. Houses built before the 1960s were usually cut on-site and assembled with thick rafters, joists and purlins. Since they utilize minimal battening, there is less obstruction on the central void. These traditionally cut roofs are easy to convert if they have enough head height and decent pitch—however, modern homes with Fink trusses with w-shaped features for bracing block the roof void. Thus, you’ll need to do more work in altering the roof since there must be a clear headroom required for a loft conversion to commence.
Height: Speaking of the headroom, the minimum height for a traditional roof is 2.2 to 2.4 meters while for a modern trussed roof, it’s 2.4 to 2.6 meters.
Space: Additionally, you need to ensure that the loft’s area is enough to be converted.
Chimneys or other obstructions: If there are obstacles in your loft space like chimneys and water tanks, you can expect additional work in getting rid of it. You may move your tank to a more discreet location or replace it with an unvented cylinder that will run off the main pressure and negate the need for a tank. On the other hand, you may remove your chimney stacks through detailed planning if they block the space. If not, you may leverage it to your advantage, just like how others use gable walls for built-in storage and alcove shelving.
Felt: Lastly, you’d have to check if your roof has some layer of felt fitted under the tiles and battens since it is crucial for weather-proofing your roof and ensuring moisture and water cannot penetrate the cracks between your roof tiles.
Step 2: Considering different types of loft conversion
Three different factors can influence your loft conversion choice, namely the roof type, the loft’s purpose, and your budget. Based on these factors, you have three main loft conversion options that you can choose from, so, let’s talk about them one by one.
Internal Loft Conversions
Velux loft conversion: This type is also known as an internal loft conversion. It is the most budget-friendly transformation and the most DIY-able conversion because it requires minimal roof space changes. You can do it by installing roof lights or Velux windows on the existing roof slope, insulating the attic internally, and strengthening the floor. You’d also need to install a staircase for accessibility yet there’s no need for planning permission for this type of development.
Single dormer: This dormer type is suitable for areas with strict conservation rules. If you want to gain more space, upgrading to two single dormers that can also add symmetry to your home is an advantageable option for you.
Full-width dormer: With this type of project, you can gain additional and unique space in your home.
L-shaped dormer: This type of attic conversion is like two dormer lofts joined together to form an L-shape. It works best with Victorian properties with rear extensions.
Hip-to-gable: In this project, you’ll need to replace hips roofs with gable walls, and extend the roof to cover the gables; thus, creating additional space.
Loft conversion that requires altering of the roof structure
Mansard loft conversions: Planning permission is usually necessary for this conversion type. It involves major structural work like replacing roof’s slopes with a new structure similar to vertical walls or flat roof. It works best in an attic with limited space.
Prefabricated loft: This type of work involves replacing the existing roof structure with a larger one, and it is suitable for lofts with limited vertical space.
Step 3: Altering the roof structure and floor support
Most attics have internal support structures for the roof, and you’ll need to remove and replace them with new ones that will not occupy space in the loft.
Additionally, ceilings require additional support, so you need to fit new ones alongside its existing roof structure placed slightly above the ceiling plasterboard to avoid contact.
Usually, the support is raised about 200mm or 225mm above the existing ceiling joints to form the floor structure and depending on its width; it will either sit directly on your wall plates or newly installed beams.
Floor supports also provide backing for the sloping rafter in smaller conversions by building a small timber stud wall with a height of 1 to 1.5 meter between the floor support and sloping rafter. After you create the support structure, it will then be safe to eliminate internal struts and braces in the attic.
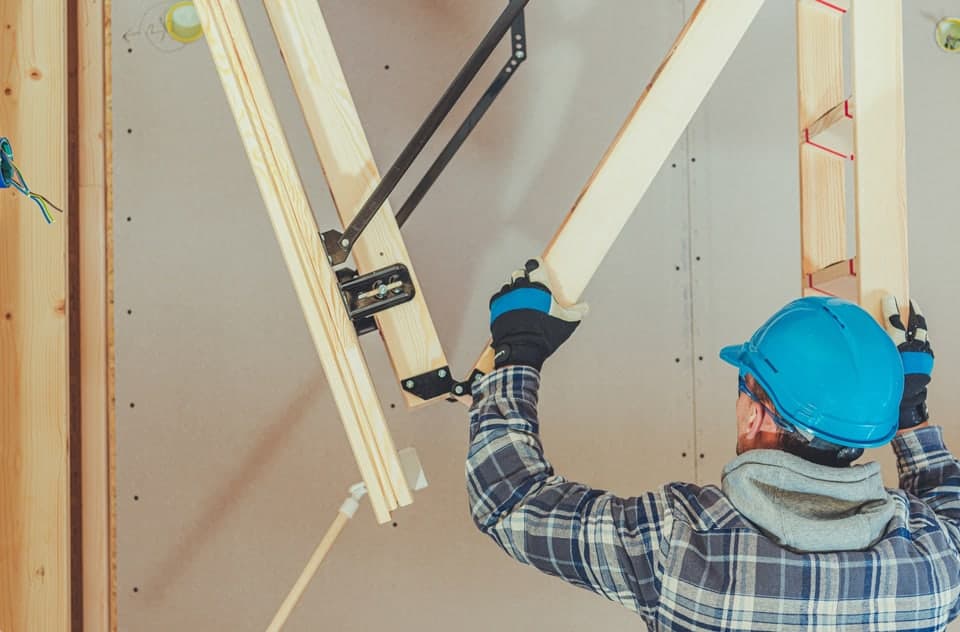
Step 4: Installing loft conversion stairs
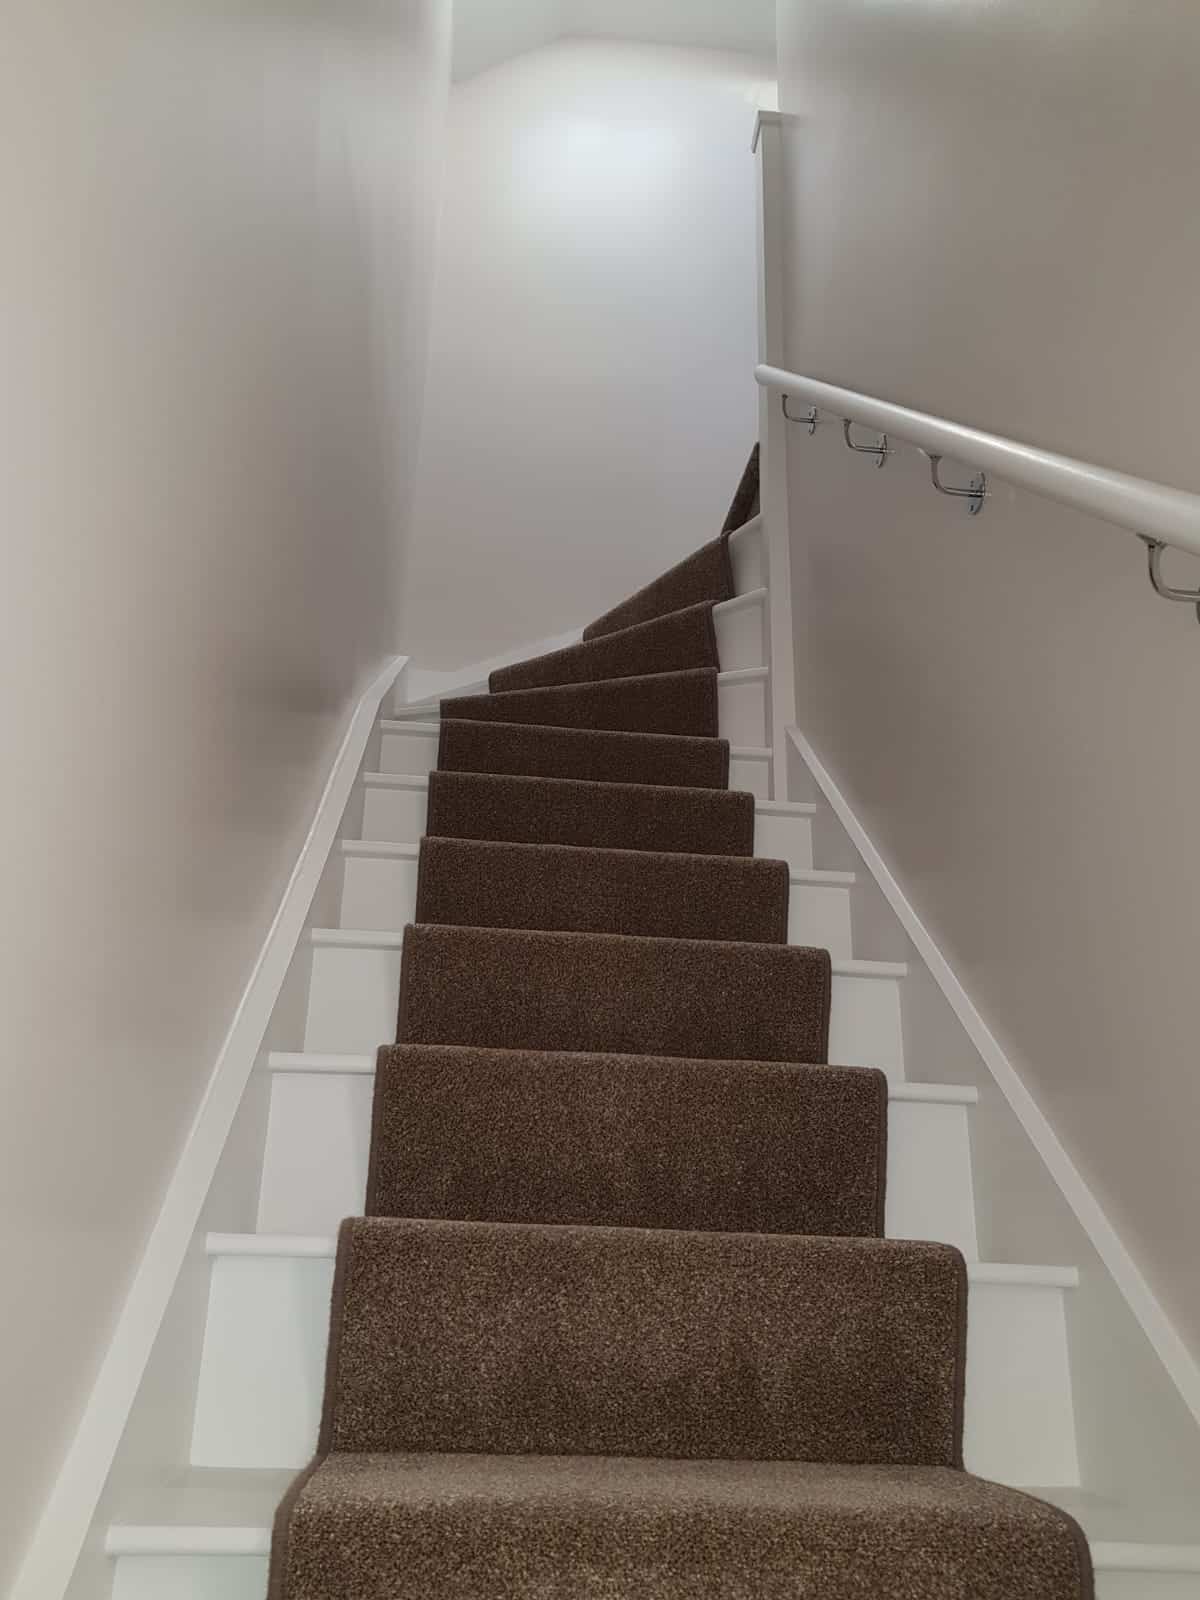
If you have limited space for your staircase, designing your stairs can be a challenge. The most common staircase design in lofts is narrow, winding stairs since it occupies less space. However, the drawback is it would be difficult to move your furniture into your attic given its design.
Custom staircases, on the other hand, are approximately ten times the cost of a regular staircase. Therefore, considering the price when planning the staircase design is imperative since it can be costly. Additionally, advanced staircase designs need to be approved by Building Control before the work could commence.
It’s quintessential to bear in mind that every staircase design must lead to an external door or hall. But if you prefer an open-plan staircase located in a room, you’ll need to install a new partition wall or create alternative escape routes.
For a thorough guide to custom loft staircases take a look at our helpful loft staircase guide.
Step 5: Creating windows and introducing the natural light
Fitting skylight windows and roof light does not require significant structural alterations. Therefore, it’s doable for DIY-ers who want to handle the project’s second fixes. Most of the time, windows are installed on either side of the roof-flight.
If you’d prefer an option that can increase the headroom in your loft, dormer windows are the ideal alternative since its structure consists of windows that will let natural light in, walls and roof. They’re usually fitted at the back of the house in most cases. Therefore, there is no need for planning permission for this type of project.
However, if placed in front of the property, planning permission may be required and may sound time-consuming, and expert intervention may be necessary upon installation. And with this window type, your loft will be exposed to the elements of weather. That’s why temporary sheeting is essential for protection.
Step 6: Updating for fire safety
You can do several things to update your home’s fire safety during and after the loft conversion. For example, if your property is a bungalow, your loft conversion will likely not block your fire escape. The windows should still need to be spacious enough for you to have a convenient escape route during your emergency exit in the future.
If the conversion leads to an extra storey, you would have to handle the issues like the need for compliance to at least 30 minutes of fire protection. It means that you’ll need to work on an additional layer of plaster below the ceilings. The loft rooms must also be separated by fire doors at the top or bottom of the stairs. Additionally, you’ll need to fix a large escape window in every room. Good thing some skylight windows have been designed ideal for escape routes.
Since automatic door-closing devices are risky for children’s use and may trap their fingers, it’s no longer used in most homes today. But to improve fire safety, you’d have to replace your existing stairway door with fire-resistant ones. If you plan to do so, you need to indicate it on your loft conversion design for the Building Control. Another solution is to use mains-powered smoke alarms on every floor of your home and interlink it so that all alarms would go off when one is activated.
Step 7: Loft conversion insulation
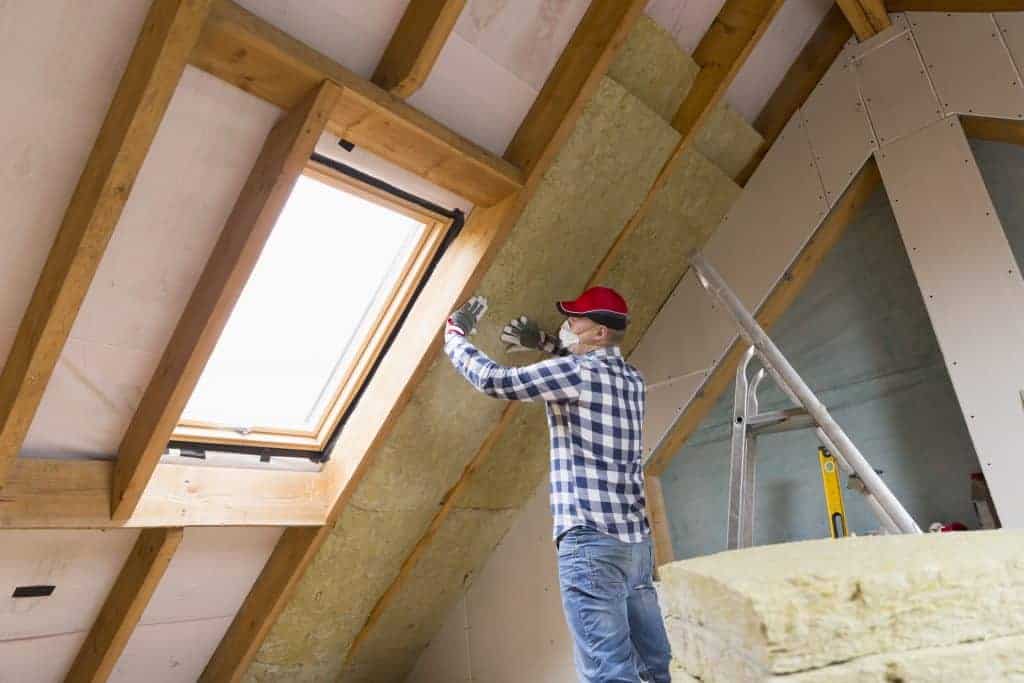
Insulating your loft is getting more challenging since the authorities elevated the energy-efficiency standards through the years. If you need to replace your roof tiles, check out some airtight insulation tips like placing insulation between the rafter and the covering.
If you opt to replace the roof, you may need to fit the insulation between the rafters and other under-side. The insulation should be thin as possible since you’ll need to install plasterboard on the rafter.
And when you’re in a dilemma of what insulation to use, we recommend only using high-performance insulation materials like a quality board or form that can cover all the areas that need insulation. If you need a step by step guide on how to insulate a loft, check out this.
*Insert – How to insulate a loft- LCW blog
Step 8: Soundproofing your loft
Soundproofing is also necessary for your newly constructed loft floor. It is done by placing heavier, denser materials like mineral fibre between the supports. It is also essential to insulate internal stud partitions between bathrooms and bedrooms with heavy, soundproof material.
Step 9: Installing lighting
You need to incorporate lots of light sources when fixing the lightings on your newly converted loft. It includes ambient lights used during the daylight, task lights for reading and working and accent lights that are ideal for improving the room’s atmosphere. Track light and down-lights are also worth spending because it works well with sloping ceilings.
Step 10: Loft ventilation
Ensuring your roof space is exceptionally tight makes your loft more energy-efficient, but there should be a balance between energy-efficiency and ventilation to prevent water vapour from condensing.
Step 11: Installing the heating system
Having additional loft conversion space would undoubtedly increase your heating requirements. The easiest solution to this problem is a boiler upgrade. It can also be efficient and more practical if your attic has an additional bathroom. The other alternative is installing heat radiators underneath the floor heating or combining the previously mentioned method.
Step 12: Fitting the plumbing
Plumbing is vital for loft conversions with an extra bathroom, and its current location is worth considering before the project commences. The quick trick into it is branching off from your existing plumbing system with flexible plastic piping to supply your loft with plumbing services.
Step 13: Fixing electrics
You may also need to alter electricals in a loft conversion like extending its existing circuit (depends on the current system’s condition and age) or installing new ones and distribution boards.
Step 14: How to regain lost storage
Now that you’ve transformed your loft into a bedroom, office, or bathroom, you’re more likely to lose some valuable storage space. But, by creating new storage spaces behind partitions and creating built-in wardrobes, you can gain extra storage area for your stuff. If you need several storage ideas, might as well check out this to learn some tips and tricks that’d help you regain some of your lost storage.
Benefits of Converting Your Loft Yourself
Although loft conversion can be a physically-demanding job that requires several technical skills, it offers many advantages that will benefit you.
Cuts the cost
This benefit is a given if you’ll DIY your loft conversion project. You can also add personal touches that professionals don’t often do. Aside from saving money on labour, you’ll also feel a sense of pride once you accomplish it by yourself.
Helps you learn more skills
DIY-ing loft conversion also provides an opportunity to learn new skills and sharpen your mind. Since your hands will be put to use, you can learn new methods and techniques to put things together and share them with others. It can also help you with future projects and even use it as a side-job in the future.
Makes you more active
Loft conversion projects require manual labour, and it can be beneficial to the body since it’s a form of exercise. Ripping floors, painting the room, installing plumbing and electrics and other tasks will surely make your body sweat. But, you’ll feel rewarded after seeing the finished product you’re created all by yourself.
Risks of converting your loft yourself
Lack of knowledge of several technical jobs involved in a loft conversion can lead to poorly built conversion and would even put your family’s life in danger. Furthermore, a badly converted loft can be too hot during summer or too cold in the winter, and there are risks of leaks due to poor insulation that can eventually result in condensation. It can then lead to poor ventilation which can cause the build-up of moisture, humidity and moulds.
Since mould spores thrive when there is condensation, it can eventually damage the wooden beams and ceiling joints. It can also endanger your family’s health. If your project does not comply with the fire safety rules, fire hazards will put your family at risk.
Furthermore, repairing a poorly built loft or one without planning permission is costly. In fact, according to Mr Owen, a director of ASBA(Associated Self Build Architects), “If you don’t involve outside professionals, it will be expensive because of low quality.” You might spend the same amount of money as it costs to build by professionals or sometimes twice. So, it’s imperative to consult and ask advice from experts before taking on the job.
If you’re in need of expert advice regarding attic conversions, you may get in touch with Loft Conversion Wales team. They are more than happy to provide you with professional tips and idea about DIY loft conversions. If you’re confident with your skill in DIY-ing your loft conversion project, we offer first-fix loft conversion where we will build the structure, and you can do the remaining works to save a considerable amount. This is an excellent option if you’re looking to channel your DIY skills and working on a tight budget.